After seeing the discussion about the kevlar skid plate and using the slick strips as an alternative, I ordered some and finally put it on my new Revo. The stuff was surprisingly thick, and I think it'll be pretty tough. However, I would recommend applying it in a heated area. A hair dryer can only heat up 30* air so much. It came out pretty well, but I would do things differently next time. Here are some photos.
I started with the bow and installed short segments starting from just ahead of the Mirage drive slot:
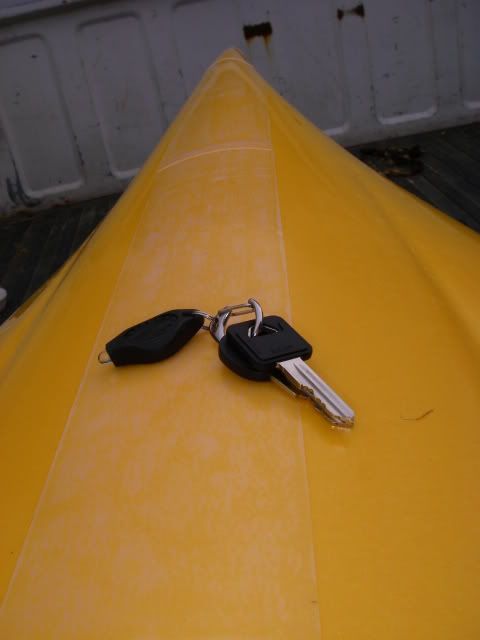
Sorry for the keys, but I couldn't get my piece of $#!^ camera to focus. Anyway, my wife heated the hull up a bit with the hair dryer and held the strip at the starting place. I unrolled it and pressed it along the top of the curve of the hull. My wife heated the tape, and I pressed it down starting from the keel outward, which seemed to minimize bubbles.
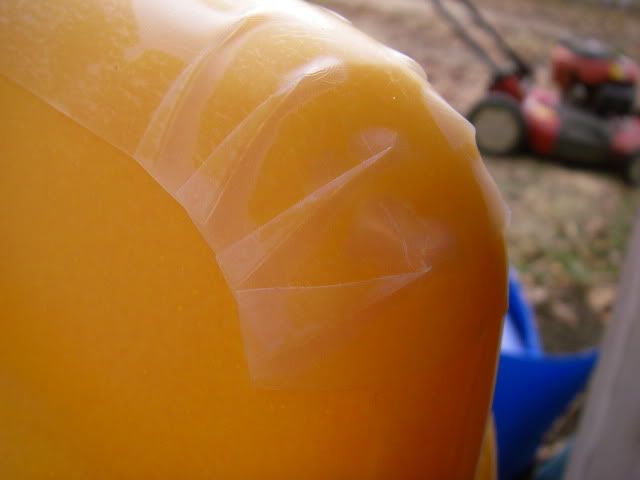
I wanted to protect the very tip of the keel at the bow. This is the part I would do differently. Amy cut slits in the tape to allow it to go around the curve, then overlapped the cut pieces. The tape was a little to stiff for this to go as smoothly as I would have liked, but we'll see how it goes.
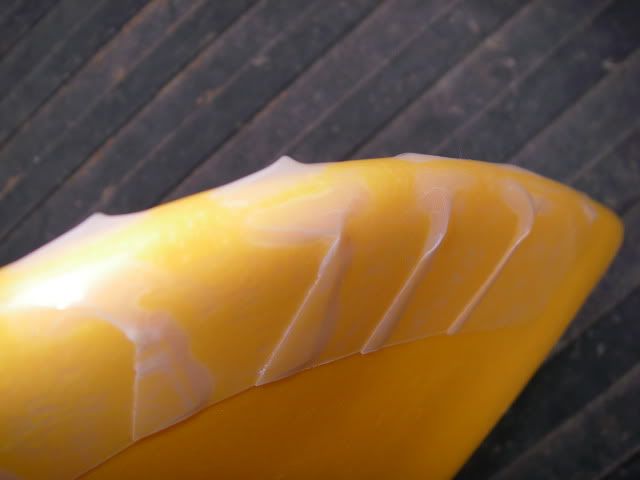
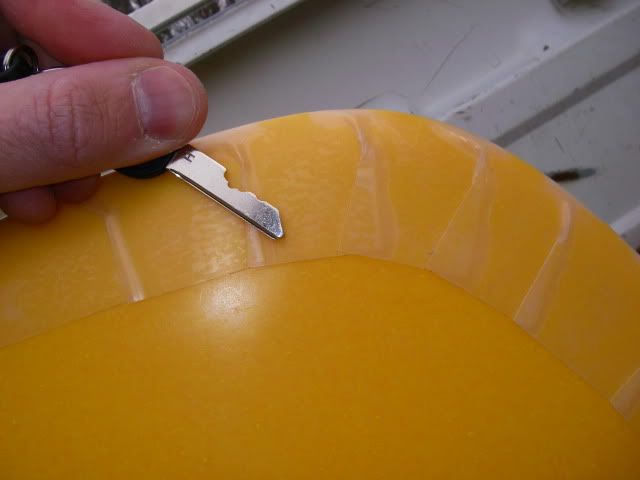
The white areas are where the two pieces of the cut overlap. Bubbles were pretty much unavoidable, but I don't there are any bubbles near the edge. Hopefully, water won't kill the adhesive. Next time, I'll cut thin strips of tape to run along either side of the keel and another thin strip to bridge the two side strips. It's pretty easy to cut even though it's kind of stiff.
Here's the stern:
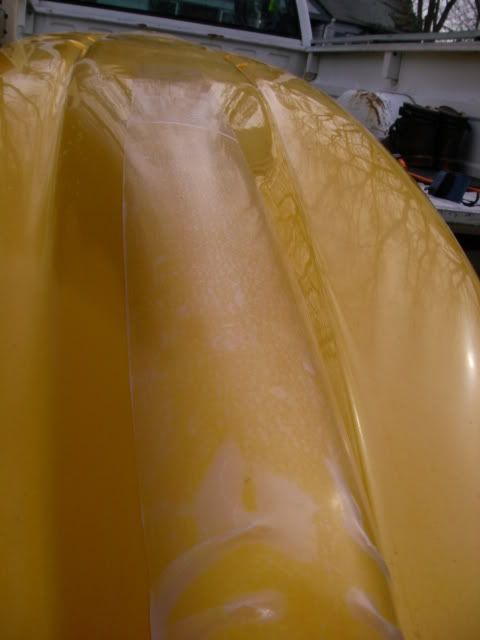
I ordered 10ft, and I had enough to put a strip on the side where I slide the yak into my pick up.
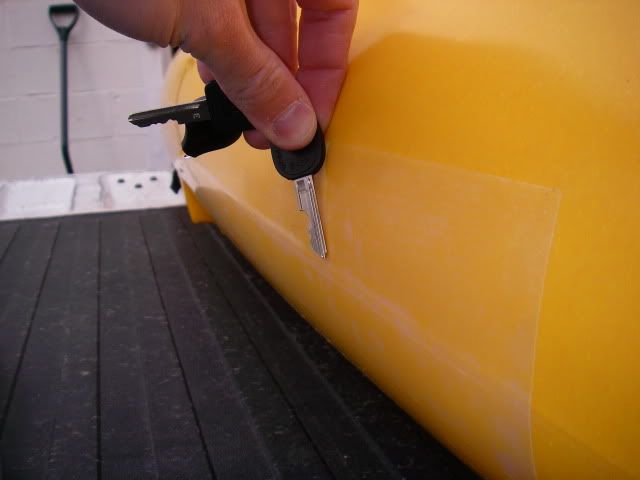
I probably should've put that strip slightly farther forward.
Anyway, it wasn't too bad, especially with another pair of hands to heat up the tape as I smoothed it down.
In hindsight, I remembered a post on kayakfishingstuff where a guy used multiple layers of packing tape. That might be a cheaper alternative that conforms a bit better to the curves.
I started with the bow and installed short segments starting from just ahead of the Mirage drive slot:

Sorry for the keys, but I couldn't get my piece of $#!^ camera to focus. Anyway, my wife heated the hull up a bit with the hair dryer and held the strip at the starting place. I unrolled it and pressed it along the top of the curve of the hull. My wife heated the tape, and I pressed it down starting from the keel outward, which seemed to minimize bubbles.
I wanted to protect the very tip of the keel at the bow. This is the part I would do differently. Amy cut slits in the tape to allow it to go around the curve, then overlapped the cut pieces. The tape was a little to stiff for this to go as smoothly as I would have liked, but we'll see how it goes.


The white areas are where the two pieces of the cut overlap. Bubbles were pretty much unavoidable, but I don't there are any bubbles near the edge. Hopefully, water won't kill the adhesive. Next time, I'll cut thin strips of tape to run along either side of the keel and another thin strip to bridge the two side strips. It's pretty easy to cut even though it's kind of stiff.
Here's the stern:


I ordered 10ft, and I had enough to put a strip on the side where I slide the yak into my pick up.

I probably should've put that strip slightly farther forward.
Anyway, it wasn't too bad, especially with another pair of hands to heat up the tape as I smoothed it down.
In hindsight, I remembered a post on kayakfishingstuff where a guy used multiple layers of packing tape. That might be a cheaper alternative that conforms a bit better to the curves.

 The company that sent it was Eagle America, and they have their own site. They also sell 3/4" rolls. I would probably use that on the bow keel next time. I wanted to protect the bow, too, because there are lots of oyster shells where I launch at Solomons. I might take it for a spin tomorrow, depending on the wind.
Comment